Posted on November 4, 2013
We’re four days in to the chemo cap knit along, and I’ve heard from a number of folks who describe themselves as novice knitters who have only ever knitted a scarf of a blanket — something that’s flat and has no shaping to it.
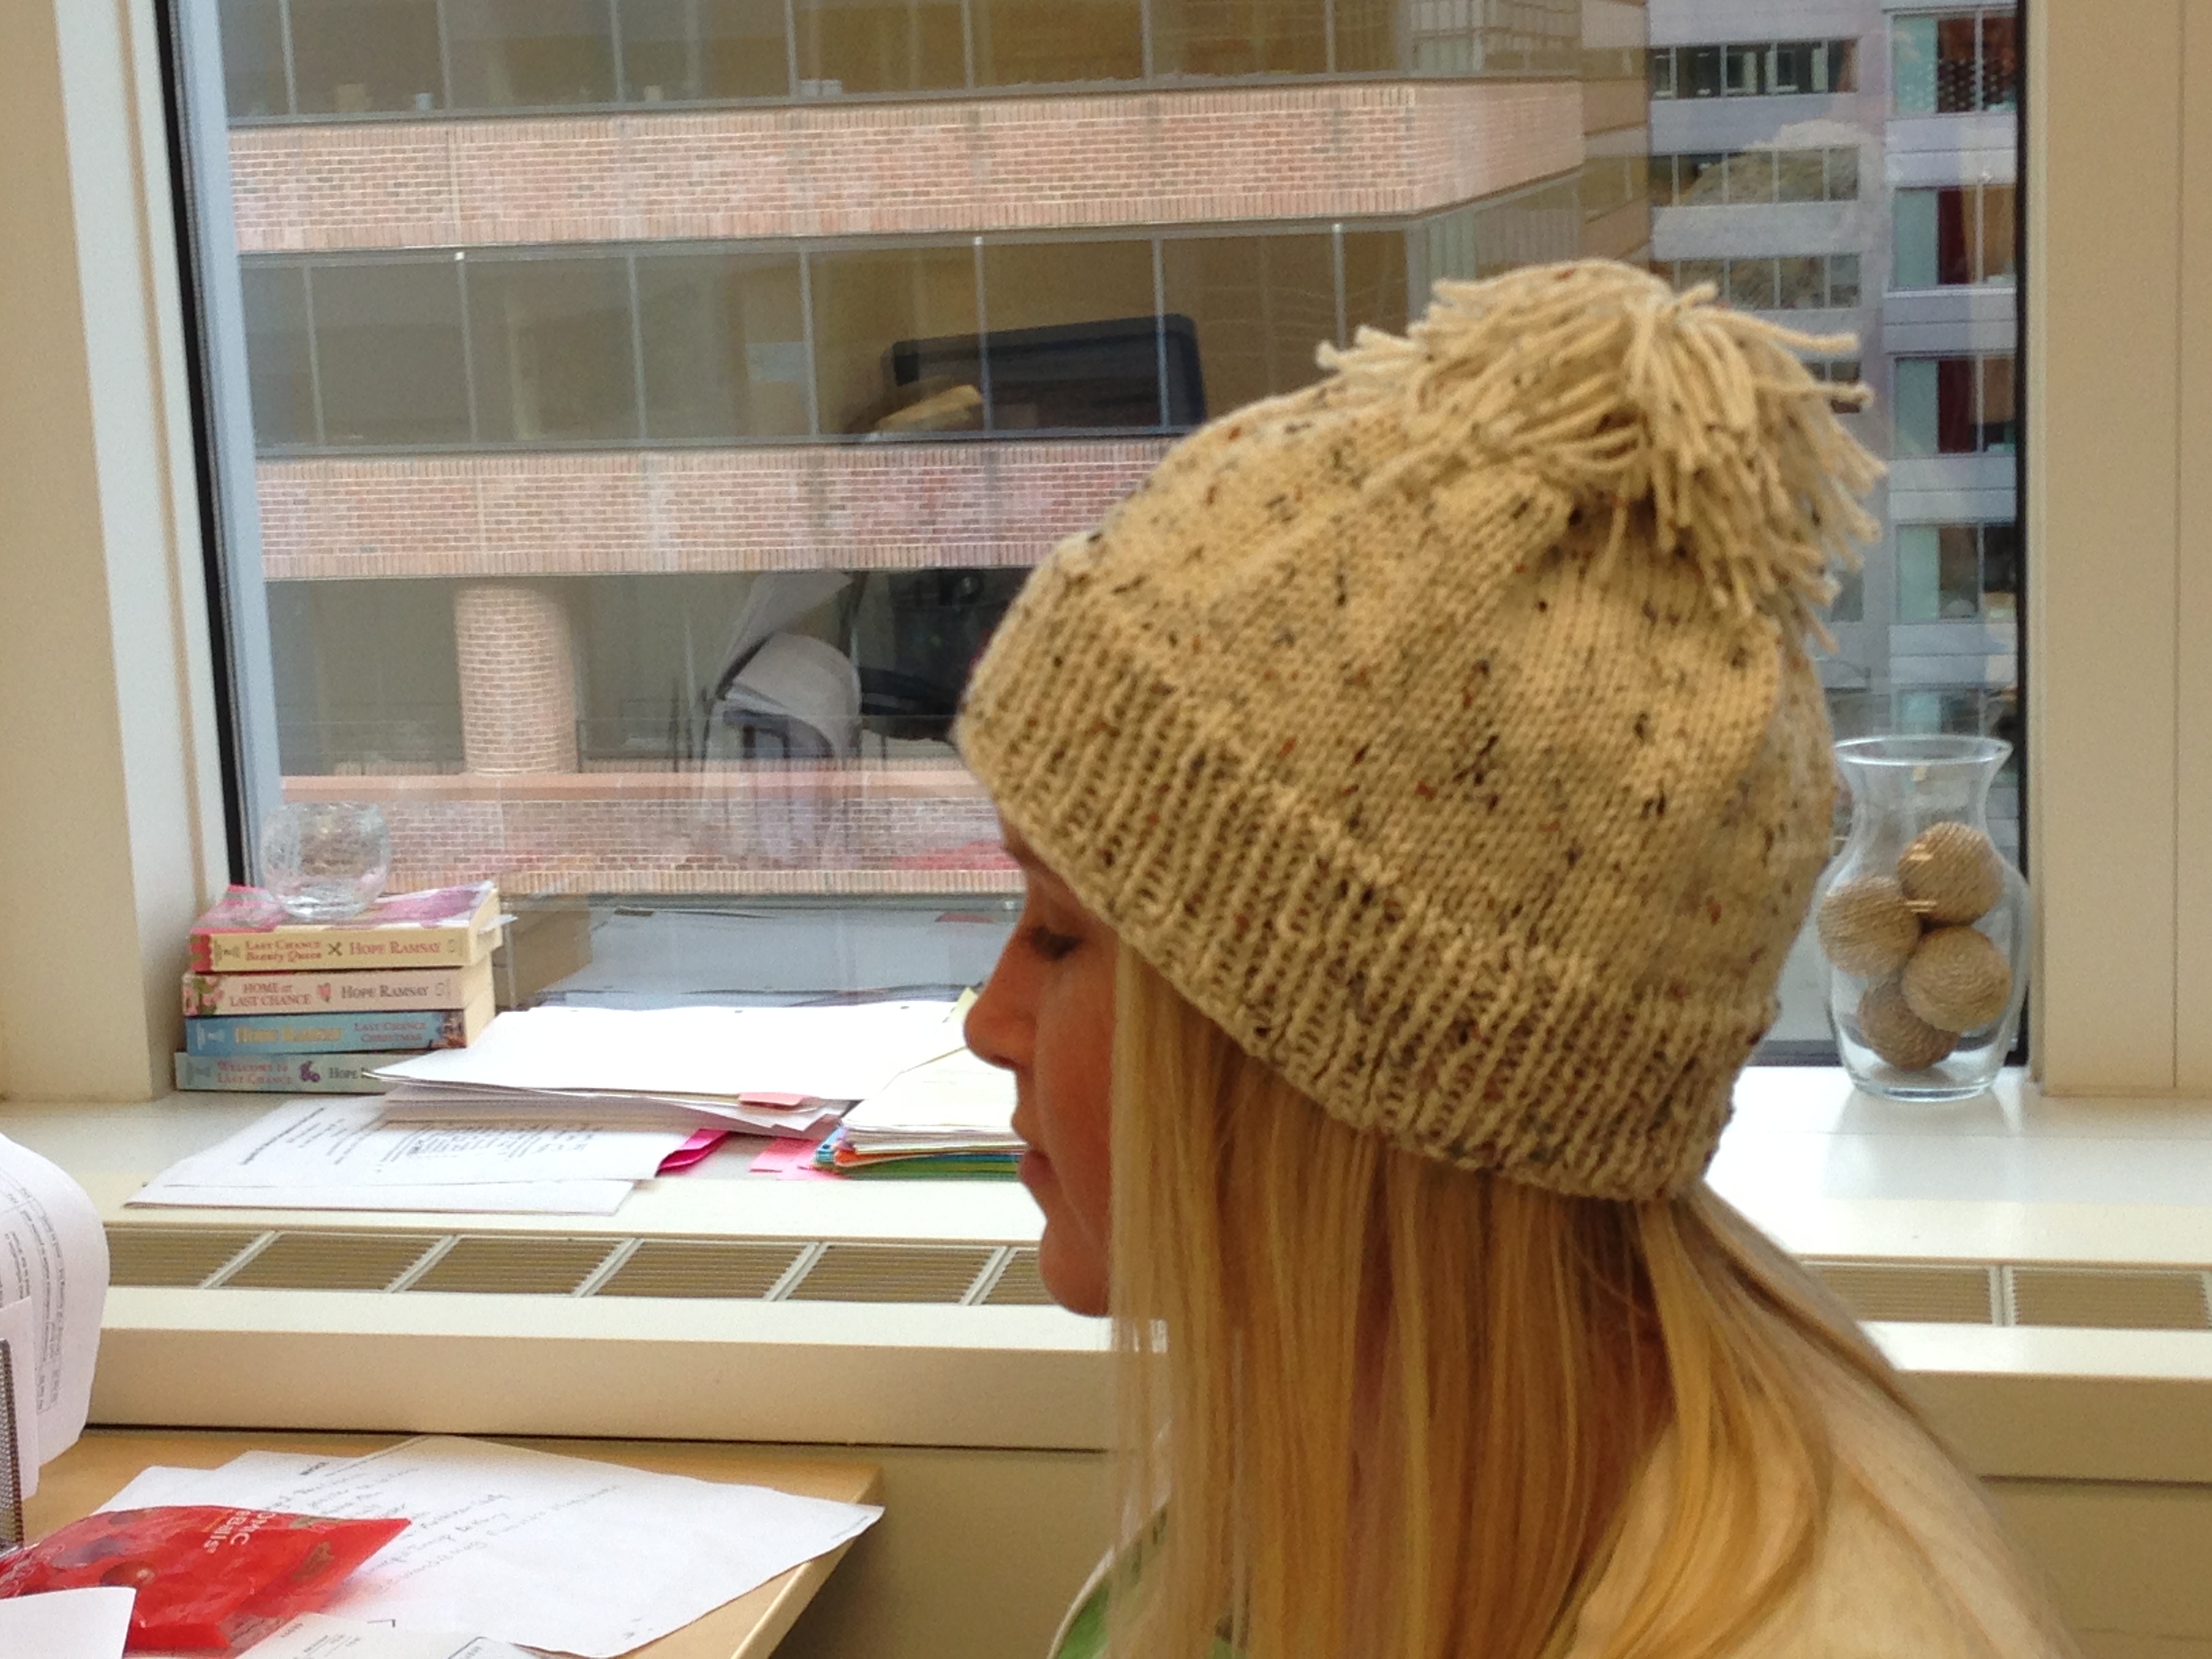
Obviously a hat is more difficult, but it’s not that much more difficult. When I was learning hot to knit, making a hat was my first project with any shaping in it. And since it’s a small project, you don’t need a lot of patience to knit a simple hat. So, on today’s blog, I’ve got a simple hat pattern and bunch of tutorials. If you’re new to knitting, you should be able to follow these instructions and knit a hat that meets the Hatbox Foundation’s specifications for a chemo cap. Here’s a picture of the hat in question, modeled by my lovely assistant.
What you’ll need before you start
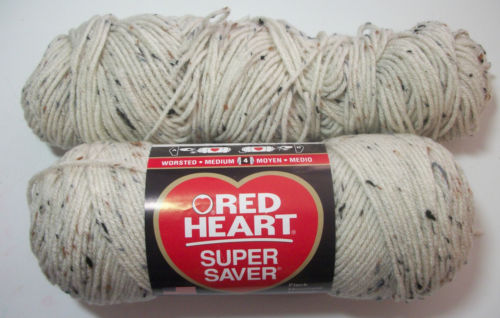 1) skein of worsted weight yarn. I used Red Heart Aran Fleck Yarn for this project.
2) A 16 inch size US size 7 circular needle.
3) A set of US size 7 double-pointed needles.
Check your gauge.
Gauge is the term that used for determining how many stitches per inch. The gauge is important, because we’re trying to make a hat that’s 22 inches in circumference, which is the standard that the Hatbox Foundation has recommended for adult hats. The gauge on this project is 4 stitches/inch. If your gauge is smaller than this, the hat will be less than 22 inches. If your gauge is larger than this, the hat will be larger. To determine your gauge, cast on 16 stitches and work them back and forth using size seven needles until you have about two inches. Measure the swatch, horizontally. If you a swatch that measures 4 inches, you’re good to go. But if it’s larger or smaller than that, you’ll need to try smaller or larger needles until you can get the gauge as close to 4 stitches/inch as possible.
The new techniques you’ll need to learn
If all you’ve ever knitted is something flat, like a scarf, on two straight needles, you’re going to have to learn two new knitting techniques: knitting in the round, and shaping a garment by decreasing the number of stitches using the technique of knitting two stitches together. Neither one of these techniques is hard.
Casting on and Joining a Round
To start this project, you’ll need to cast on 90 stitches onto the 16″ Size 7 Circular needle (or any sized needed necessary to obtain the correct gauge) and join the round. Place a marker where you joined the round. Below is a detailed video that shows you how to cast on and join a round. If you’ve never knitted on a circular needle, watch this video before you start.
http://www.youtube.com/watch?v=ggP8VhXqKF8
Start knitting
Once you’ve cast on 90 stitches, placed a marker and joined your round (being careful not to twist your work), you will need to work in a rib pattern of knit 1, purl 1 for 2 inches.
Once you’ve got two inches of ribbing, switch to stockinette stitch, which is really simple when you’re knitting in the round, because all you have to do is knit, there is no turning the work. You just knit round and round and it makes stocking stitch. It’s really, really easy! Pretty soon you’ll have a tube of knitting that becomes the body of your hat.
Shaping the Crown
Once your hat measures 6.5 inches, it’s time to shape the crown. Shaping the crown requires you to decrease the number of stitches, thereby gradually tapering the top of the hat. To shape the crown you have to learn how knit two stitches together. So before I give you the instructions for shaping the crown, watch this video.
http://www.youtube.com/watch?v=8SpMsoVFoWY
To start shaping your crown, knit to the marker that identifies the beginning of a rounds, then knit a round following these instructions:
Knit 13 stitches then Knit two stitched together (k2tog). Repeat this pattern 5 more times. Your last k2tog should be right before you reach your round marker. This round will reduce the number of stitches by 6. If you were looking at a standard knitting pattern, the instruction would look something like this:
*K13, K2tog*, repeat from * to * (84 stitches left)
On the next round, knit as follows:
*K12, K2tog*, repeat from * to * (78 stitches left)
The next row follows this pattern:
*K11, K2tog*, repeat from * to * (72 stitches left)
To finish the crown here are the remainder of the instructions:
*K10, K2tog*, repeat from * to * (66 stitches left)
*K9, K2tog*, repeat from * to * (60 stitches left)
*K8, K2tog*, repeat from * to * (54 stitches left)
*K7, K2tog*, repeat from * to * (48 stitches left)
*K6, K2tog*, repeat from * to * (42 stitches left)
*K5, K2tog*, repeat from * to * (36 stitches left)
*K4, K2tog*, repeat from * to * (30 stitches left)
*K3, K2tog*, repeat from * to * (24 stitches left)
*K3, K2tog*, repeat from * to * (18 stitches left)
*K1, K2tog*, repeat from * to * (12 stitches left)
*K2tog*, repeat from * to * (6 stitches left)
At some point as you are decreasing stitches, you’re going to face a big problem. The circular needle is going to be too big for the small number of stitches that you have left. At this point, you’ll need to transfer your knitting to double pointed needles (DPNs). Here is a tutorial about knitting with double pointed needles. This tutorial shows you how to cast on a project with these needles, but in the case of the hat, all you need to do is to knit your rounds onto a set of DPNs. You’ll probably only need to use the DPNs for five or six of the final rows.
Finishing
So now you only have 6 stitches left. Cut your working yarn so that you have about six inches left, then thread it onto a tapestry needle. Using the needle, run the end of the yarn through each of the 6 stitches remaining, taking them off the needles. Pull the stitches closed, like the top of a purse. Voila! You have a hat. Finish the project by weaving in the ends of your yarn.
I embellished my hat with a floppy pom-pom. But you could leave it plain for a man’s hat, or you could put a really plush pom-pom on the top. Here is a tutorial on making plush pom-poms. If you want something looser like I used, you just use less yarn.
I hope y’all have fun making hats. And if you have any question, post them below and I’ll try my best to answer them. Unlike the heroine in my upcoming story, I’m not a yarn whisperer. But I do have some experience making hats. The hat in this project, only took me about five hours to make. So you should easily be able to make one of these hats during the month of November. And someone who is undergoing Chemotherapy would be so grateful to get a hat made by your loving hands.